
honeywell th5220d1029 installation manual
Welcome to the comprehensive installation manual for your new Honeywell TH5220D1029. This guide is designed to help you get started with this FocusPRO series non-programmable digital thermostat. Explore its potential, ensuring a thorough understanding of its setup and operation from unboxing to full functionality.
Product Series and Model Identification
The Honeywell TH5220D1029 is a distinct model within the highly regarded FocusPRO series of digital thermostats. Specifically, it belongs to the FocusPRO 5000 Series, which is renowned for its reliability and straightforward functionality. This particular model, TH5220D1029, is categorized as a non-programmable digital thermostat, meaning it provides precise temperature control without requiring complex scheduling setups. Its identification as part of the TH5XXXD10XX family links it to other models like TH5110D1006, TH5110D1022, and TH5220D1003, as well as the TH5320U1001, as frequently referenced in associated owner’s and installation manuals.
When consulting documentation, users will often find the TH5220D model designation, with the full TH5220D1029 providing the complete product identifier for accurate support and accessory matching. The “D” in its nomenclature typically signifies its digital nature, while the subsequent numbers specify unique features or regional variations. Understanding this model identification is crucial for accessing the correct installation instructions, troubleshooting guides, and programming manuals, ensuring that the specific characteristics of the TH5220D1029 are properly addressed. This clarifies its position within Honeywell’s extensive range, emphasizing its non-programmable functionality as a key characteristic for users seeking simplicity and efficiency in their climate control solutions.
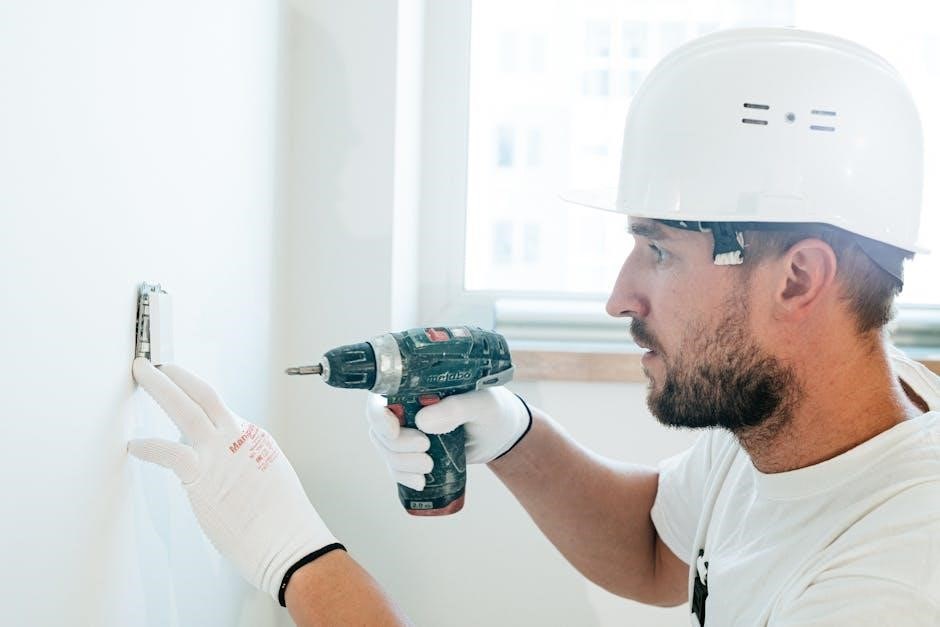
Professional Installation Requirement
The Honeywell TH5220D1029, a FocusPRO series non-programmable digital thermostat, necessitates professional installation. It must be installed by a trained, experienced technician to ensure proper functionality and safety. This requirement underscores the importance of expert handling for optimal performance of the electronic control unit;
Installer Qualification Mandate
The installation of the Honeywell TH5220D1029 thermostat is explicitly not a task for amateurs, as emphatically stated in its official guide. It mandates that the device “must be installed by a trained, experienced technician.” This stringent requirement is paramount for several critical reasons, ensuring both safety and optimal functionality. These sophisticated electronic control units interact with complex HVAC systems, often involving high voltage wiring and specialized configurations, like intricate heat pump setups. An untrained individual risks improper connections, which could lead to severe system malfunction, dangerous electrical hazards, or even irreversible damage to the thermostat or the entire heating/cooling equipment. A truly qualified installer possesses the necessary expertise to correctly interpret detailed wiring diagrams, understand specific system types (e.g., 3Heat/2Cool Heat Pump settings), and precisely configure the vital installer setup menu. Their invaluable experience ensures peak performance, maximum energy efficiency, and strict adherence to all local electrical codes. Without this crucial mandated expertise, users might encounter persistent operational issues, voided warranties, or significant safety concerns. Therefore, selecting a certified professional is not merely a recommendation but a crucial step to guarantee the longevity and reliable operation of your Honeywell TH5220D1029, preventing costly errors and ensuring complete peace of mind.

Thermostat Features Overview
The Honeywell TH5220D1029 is a FocusPRO 5000 Series non-programmable digital thermostat. It offers electronic control for various heating and cooling systems, featuring both manual and auto changeover modes for flexible operation and user convenience.
Non-Programmable Digital Thermostat

The Honeywell TH5220D1029 is distinguished as a non-programmable digital thermostat, a key characteristic within the respected FocusPRO 5000 Series. This design choice prioritizes straightforward operation and consistent temperature maintenance without the need for complex scheduling. Unlike its programmable counterparts, the TH5220D1029 allows users to manually set their desired temperature, and the unit will maintain that setpoint until it is manually adjusted again. This inherent simplicity makes it an ideal choice for environments where a consistent temperature is preferred throughout the day, or where occupants wish to have direct, immediate control over their climate settings without adhering to a pre-set schedule. Its clear digital interface ensures precise temperature readouts and robust electronic control over various heating and cooling systems. The FocusPRO TH5220D series, encompassing this specific model, is well-regarded for its reliability and ease of use, providing a dependable solution for managing indoor comfort. The comprehensive installation and owner’s manual for the Honeywell TH5220D1029 further details its functions, underscoring its user-centric approach. This model is particularly popular in spaces where occupant schedules vary or where specific daily programming is not required, offering unparalleled flexibility and simplicity in climate management for optimal comfort.
Electronic Control Functions
The Honeywell TH5220D1029 thermostat boasts advanced electronic control functions, providing precise management over various heating and cooling systems. This digital capability ensures accurate temperature regulation, responding efficiently to changes in your environment. Unlike traditional mechanical thermostats, the TH5220D1029 utilizes sophisticated electronic circuitry to monitor ambient conditions and activate your HVAC equipment as needed. Its electronic brain allows for seamless operation across different modes, enabling users to switch between heating, cooling, or simply turning the system off with digital precision. The underlying electronic architecture also supports the intricate configuration steps outlined in the installation manual, such as setting up the system type or adjusting operating modes for optimal performance. These electronic controls contribute significantly to the thermostat’s reliability and user-friendliness, ensuring consistent comfort through its responsive digital interface. The internal electronic components are meticulously designed for durability and consistent performance, translating user inputs into effective system commands. This intelligent electronic management minimizes temperature fluctuations, optimizing energy use while maintaining the desired indoor climate with exceptional accuracy. The digital display, itself an electronic function, provides clear and immediate feedback, enhancing the overall user experience by simplifying interactions and displaying current settings with clarity. This robust electronic framework ensures dependable climate control.

Manual and Auto Changeover Modes
The Honeywell TH5220D1029 thermostat offers flexible operation through its Manual and Auto Changeover modes, catering to diverse comfort preferences and climate control strategies. In Manual changeover mode, the user actively selects the desired system operation, choosing between Heat, Cool, or Off settings. This requires manual intervention whenever a transition from heating to cooling, or vice versa, is necessary, such as with seasonal changes or personal preference shifts.
Conversely, the Auto changeover mode provides enhanced convenience and energy efficiency. When set to Auto, the thermostat intelligently monitors indoor temperature and automatically switches between heating and cooling to maintain the programmed setpoint. This eliminates the need for manual adjustments throughout the day or across fluctuating weather conditions, allowing the system to operate in Heat, Cool, Auto, or Off as needed. This feature is particularly beneficial in regions experiencing significant daily temperature swings, ensuring consistent comfort effortlessly. The selection between these modes is a crucial setting configured within the Installer Setup menu, specifically by adjusting Function 12 (System Setting) to either Manual or Auto, thereby tailoring the thermostat’s operational logic to suit specific user needs and environmental demands for continuous comfort.

Physical Installation
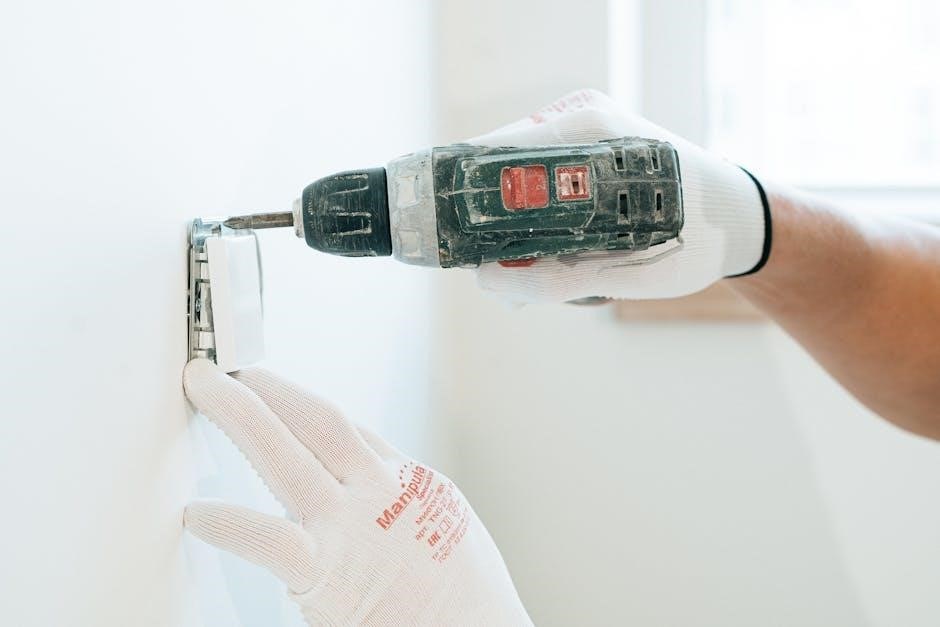
The physical installation process for your Honeywell TH5220D1029 thermostat begins with the crucial wallplate mounting procedure. Ensuring secure and correct placement of the wallplate is the foundational step. Detailed instructions within the installation manual guide this initial phase for optimal setup.
Wallplate Mounting Procedure
Initiating the installation of your FocusPRO TH5220D thermostat requires careful attention to the wallplate mounting procedure. This critical first step ensures the stability and longevity of your new digital thermostat. Begin by selecting an appropriate location on an interior wall, away from direct sunlight, drafts, or heat sources that could affect temperature readings. Use the provided wall anchors and screws to firmly secure the wallplate to the wall. It is essential to ensure the wallplate is level for both aesthetic appeal and proper internal component alignment. The installation manual, readily available online for the Honeywell FocusPRO TH5220D, offers precise diagrams and step-by-step guidance for this phase. This detailed documentation outlines the exact tools required and the sequence of actions for a secure attachment. Prior to mounting, always confirm that power to the HVAC system is safely turned off at the breaker. Properly mounted, the wallplate creates a stable base for subsequent wiring connections and the final thermostat attachment, paving the way for reliable electronic control functions. Refer to the specific instructions for “Installation de la plaque murale” to guarantee adherence to manufacturer specifications, preventing potential issues during operation or future maintenance.

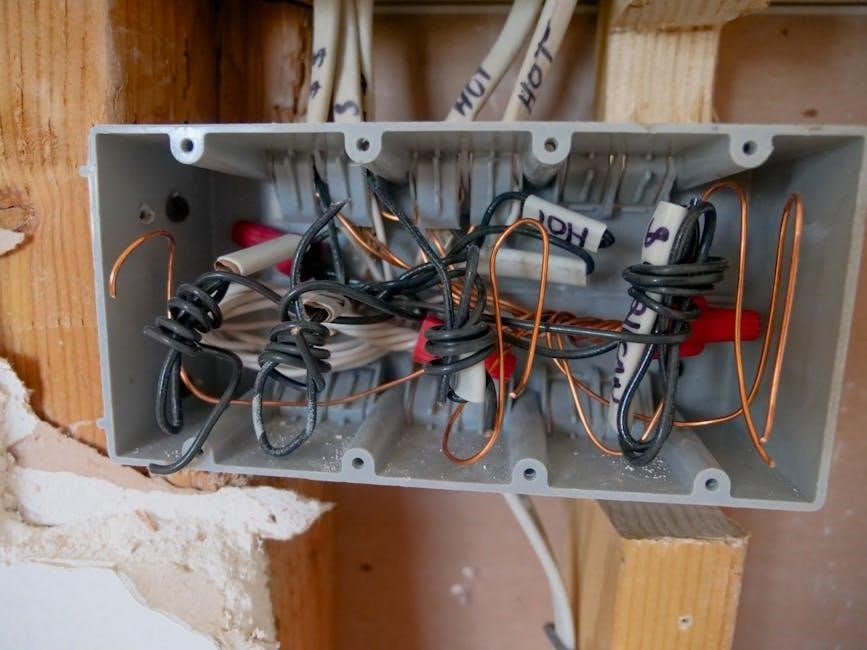
Wiring Connections
Proper wiring is crucial for your Honeywell TH5220D1029. The L terminal outputs for emergency heat, connecting to zoning panels. For no emergency heat relay, install a field jumper between Aux and E terminals. This ensures correct system functionality and control.
L Terminal for Emergency Heat Output
The L terminal on your Honeywell TH5220D1029 thermostat plays a critical role in managing emergency heat operations within your HVAC system. When the thermostat is manually set to “Em. Heat” mode, the L terminal is specifically designed to send a continuous output signal. This constant signal is a vital communication link, indicating to the connected heating system components that an emergency heating condition has been activated and is currently required for comfort maintenance.
This feature is particularly important for systems that utilize supplemental or backup heating sources. The continuous output from the L terminal ensures that these emergency heat sources are engaged reliably and without interruption when primary heating fails or is insufficient. It acts as a direct command, overriding normal heating cycles to prioritize the emergency heat function.
Furthermore, this L terminal output is crucial when integrating the TH5220D1029 with advanced control systems, such as Honeywell zoning panels. By connecting the L terminal to these zoning panels, the thermostat can effectively switch the entire panel to an Emergency Heat operational state. This allows for a coordinated and centralized response across different zones, ensuring that all designated areas receive emergency heating as needed. This robust capability enhances system resilience and user comfort during critical heating demands, making the L terminal a cornerstone of the thermostat’s emergency heat management.
Zoning Panel Connection for Emergency Heat
The Honeywell TH5220D1029 thermostat offers seamless integration capabilities with advanced HVAC control systems, particularly Honeywell zoning panels, to manage emergency heat situations effectively. When the thermostat is placed into its “Em. Heat” mode, the dedicated L terminal activates, sending a continuous output signal. This critical signal serves as a direct command to any connected Honeywell zoning panels, instructing them to switch their operational state to “Emergency Heat.” This ensures that the zoned system can immediately respond to a primary heating failure or a need for supplemental heat across multiple areas.
This direct connection streamlines the management of complex heating setups, allowing for a centralized control point for emergency operations. Rather than managing individual zone settings, the thermostat’s signal to the zoning panel orchestrates a system-wide shift to the emergency heating protocol. This capability is vital for maintaining comfort and preventing system strain during unexpected heating demands. The precise communication between the TH5220D1029 and the zoning panel guarantees that all designated zones receive the necessary emergency heat, enhancing the overall reliability and responsiveness of the HVAC installation. This intelligent integration underscores the thermostat’s role in critical climate control environments.
Aux and E Terminal Jumper Installation
A crucial step during the wiring connections for the Honeywell TH5220D1029 thermostat involves installing a field jumper between the Aux and E terminals. This specific wiring modification is required only if the heating system configuration does not include a dedicated emergency heat relay. The “Aux” terminal typically controls auxiliary or supplemental heating in heat pump systems, while the “E” terminal is designated for emergency heat operation. When no separate emergency heat relay is present, jumpering these two terminals together effectively consolidates their functions, allowing the thermostat to activate emergency heat directly through the auxiliary heat terminal.
This jumper ensures that the system can still engage emergency heating capabilities when needed, even without a distinct relay. It’s a pragmatic solution for installations where the emergency heat function is integrated into the auxiliary heat circuit. Proper installation of this jumper is vital for the thermostat’s ability to provide emergency heating, maintaining comfort and preventing system downtime during primary heat source failures. Technicians must carefully assess the existing HVAC system to determine if this jumper is necessary, as incorrect wiring could lead to improper operation, highlighting the importance of following the manual’s precise guidelines for this connection.

Installer Setup Menu Configuration
Accessing the installer setup menu is crucial for optimal thermostat operation. Here, technicians configure system type, often setting it to 3Heat/2Cool Heat Pump. This menu also allows adjustment of Function 12, the system setting, to either manual or auto, following 16 detailed configuration steps.
Setting System Type to 3Heat/2Cool Heat Pump
A fundamental step during the professional installation of the Honeywell TH5220D1029, a FocusPRO series non-programmable digital thermostat, is configuring the system type within the installer setup menu. For heat pump systems, precise configuration is crucial for optimal functionality and compatibility. The provided internet information explicitly states: “In Installer Setup, set system type to 3Heat/2Cool Heat Pump.” This setting is vital, informing the thermostat of your HVAC unit’s capabilities. It indicates three stages of heating (including auxiliary/emergency heat) and two stages of cooling. Accurate selection here allows the TH5220D1029 to intelligently manage the complex cycling, optimizing efficiency and climate control.
Failure to correctly set “3Heat/2Cool Heat Pump” can lead to significant operational inefficiencies, increased energy consumption, or potential equipment damage. The TH5220D1029 relies entirely on this precise parameter to orchestrate the heat pump’s functions. Always consult the detailed installation manual for comprehensive guidance on accessing and navigating the setup menu. Ensuring this critical setting is established correctly is paramount for achieving peak system efficiency and maximizing user comfort with your Honeywell TH5220D1029.
Adjusting Function 12 System Setting
Within the critical installer setup menu of the Honeywell TH5220D1029, a pivotal configuration step involves adjusting Function 12, labeled as “System Setting.” This particular function dictates how the thermostat handles the transition between heating and cooling operations, offering either “Manual” or “Auto” changeover modes. As indicated by the installation guidance, installers must “Change Installer Setup, Function 12 (System Setting) to Manual or Auto.”
Selecting “Manual” mode means the user will explicitly switch between heating, cooling, or off modes as desired. This provides direct control but requires manual intervention with temperature shifts. Conversely, choosing “Auto” changeover allows the TH5220D1029 to automatically switch between heating and cooling to maintain setpoints, adapting seamlessly to fluctuating indoor temperatures without user input. This enhanced convenience is often preferred for consistent comfort. The decision between manual and auto depends on end-user preference and HVAC system requirements. Proper adjustment of Function 12 ensures the thermostat operates in the most efficient and user-friendly manner for the installed environment, contributing significantly to overall system performance and comfort management.
Overview of 16 Configuration Steps
The Honeywell TH5220D1029 installation manual details a crucial installer setup menu, outlining 16 distinct configuration steps. This comprehensive sequence is essential for adapting the thermostat to diverse HVAC systems and user preferences, ensuring efficient operation. Designed for trained technicians, these steps guarantee optimal performance and system compatibility.
These 16 steps encompass various critical adjustments. Installers configure the initial setup code, vital for accessing advanced functionalities. The thermostat’s operating mode must be set correctly, aligning with specific heating and cooling equipment. Additionally, the process involves selecting the desired temperature readout format, such as Fahrenheit or Celsius, and implementing relevant sensor selections. Completing all 16 steps is paramount for the TH5220D1029 to function as intended, preventing operational issues and maximizing system efficiency. This meticulous setup ensures tailored comfort.