

golden hour pdf
The golden hour‚ often called the “magic hour‚” occurs during the first hour after sunrise and the last hour before sunset. It offers soft‚ warm‚ golden light‚ creating ideal conditions for capturing stunning portraits and landscapes.
The Science Behind the Golden Hour
The golden hour occurs when the sun is low on the horizon‚ creating a soft‚ warm light due to the sun’s rays passing through more of Earth’s atmosphere‚ scattering shorter wavelengths and emphasizing red and orange tones.
Properties of Golden Hour Light
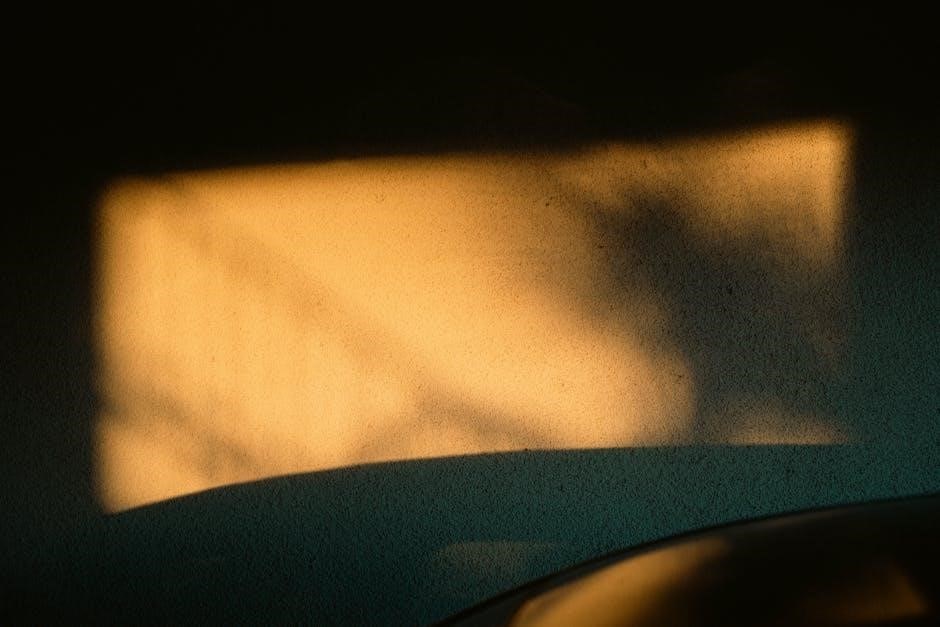
The golden hour light is characterized by its warm‚ soft‚ and diffused qualities‚ creating a magical atmosphere for photography. The light during this period has a lower color temperature‚ resulting in a palette of warm tones such as oranges‚ yellows‚ and reds. Unlike the harsh midday sun‚ golden hour light is gentle‚ reducing unwanted shadows and highlights‚ which makes it ideal for both portraits and landscapes. The light’s intensity is softer due to the sun’s low position on the horizon‚ allowing for even illumination. Additionally‚ the scattering of shorter blue wavelengths in the atmosphere enhances the warm hues‚ giving images a cinematic feel. This unique combination of color and intensity creates a flattering and forgiving light that enhances textures and colors in a scene. The properties of golden hour light make it a sought-after condition for photographers aiming to capture stunning‚ atmospheric images.
Role of Sun Position
The position of the sun during the golden hour plays a crucial role in shaping the light’s unique characteristics. When the sun is low on the horizon‚ its light must travel through a greater distance in the Earth’s atmosphere‚ scattering shorter blue wavelengths and enriching the remaining light with warm tones of red‚ orange‚ and yellow. This low angle also creates a soft‚ diffused light that minimizes harsh shadows and highlights‚ making it ideal for capturing even illumination in portraits and landscapes. The sun’s position during this time allows it to act as a versatile light source‚ serving as a backlight‚ side light‚ or front light‚ depending on the photographer’s perspective. Additionally‚ the sun’s angle enhances textures and depth in scenes‚ adding a three-dimensional quality to images. The interplay of the sun’s position and the atmosphere is the primary reason for the golden hour’s distinctive light‚ making it a favorite among photographers seeking to create atmospheric and visually compelling shots.

Techniques for Golden Hour Photography
Mastering golden hour photography involves understanding its unique lighting conditions. Techniques include planning ahead‚ using spot metering for accurate exposure‚ adjusting white balance to capture warm tones‚ experimenting with angles to utilize backlight and sidelight‚ and staying flexible to adapt to changing light conditions.
Timing and Duration
The golden hour typically occurs twice a day: once in the morning shortly after sunrise and again in the evening before sunset. The exact timing varies depending on the season and location‚ but it generally lasts about 60 minutes. During this time‚ the soft‚ golden light creates ideal conditions for photography‚ especially for portraits and landscapes. The morning golden hour often offers calmer conditions‚ while the evening golden hour can produce more vibrant colors. To maximize this period‚ photographers should plan their shoots in advance‚ using tools like sunrise/sunset calculators to determine the best times. It’s important to arrive early to set up and be ready to adapt as the light changes rapidly. Understanding the timing and duration of the golden hour is crucial for capturing its full potential in your images.
Lighting and Composition
The golden hour offers a unique lighting scenario that enhances both portraits and landscapes; The soft‚ diffused light reduces harsh shadows‚ creating a flattering effect for subjects. The warm color palette‚ with hues of yellow‚ orange‚ and red‚ adds a magical atmosphere to images. When composing shots‚ photographers can leverage the low-angle light to create long shadows‚ emphasizing textures and depth. Backlighting is particularly effective during this time‚ as it highlights contours and silhouettes‚ while side lighting adds dimension to faces and landscapes. Front lighting‚ on the other hand‚ provides even illumination‚ ideal for capturing details. To make the most of the golden hour‚ photographers should experiment with angles and positions‚ ensuring the sun is placed thoughtfully within the frame. Using the rule of thirds and leading lines can further enhance composition. Additionally‚ reflecting the golden light off surfaces like water or metal can add creative elements to the scene. Balancing these lighting and compositional elements ensures captivating and professional-quality results.
Best Equipment and Settings
To capture the golden hour effectively‚ photographers should use a DSLR or mirrorless camera with manual controls for flexibility. A wide-angle lens (10-22mm) is ideal for landscapes‚ while a prime lens (50mm or 85mm) is perfect for portraits‚ as it creates a shallow depth of field and soft bokeh. A tripod is essential for stability‚ especially in low-light conditions‚ and a remote shutter release or timer helps prevent camera shake. Neutral density (ND) filters can manage overexposure‚ while a polarizing filter enhances colors and reduces glare.
For settings‚ shoot in RAW format to retain maximum detail. Use manual or aperture priority mode‚ setting the aperture between f/2.8 and f/5.6 for a balanced depth of field. Lower the contrast and adjust the white balance to “Cloudy” or “Shade” to emphasize warm tones. Enable continuous autofocus for moving subjects and keep the ISO low (100-400) to minimize noise. Bracketing exposures can help capture a dynamic range‚ which is useful for high-contrast scenes. Finally‚ review your images on the LCD and adjust settings as needed to ensure optimal results. Proper equipment and settings optimization are key to making the most of the golden hour’s unique lighting conditions.
Portrait Photography Tips
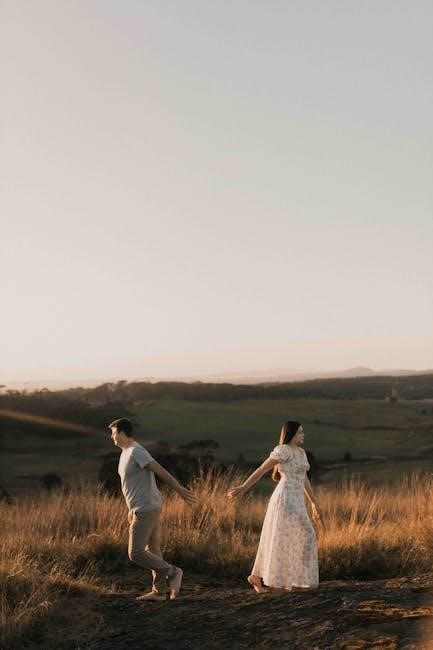
During the golden hour‚ the soft‚ warm light creates a flattering and natural glow for portraits. Position your subject so the light falls at a 45-degree angle to their face‚ avoiding direct sunlight to prevent harsh shadows. Use the golden hour’s warm tones to enhance skin colors and create a cozy atmosphere.
Experiment with backlighting by placing the sun behind your subject‚ which can create a stunning halo effect around their hair and silhouette. Adjust your camera settings to ensure proper exposure—use a lower aperture (like f/2.8) to blur the background and highlight your subject. Keep the ISO low (100-400) to maintain image quality and set the white balance to “Cloudy” or “Shade” to emphasize the warm hues.
Focus on your subject’s eyes to capture sharp‚ expressive portraits. Consider using a reflector to bounce light onto their face if needed. Don’t forget to experiment with silhouettes or creative compositions that incorporate the golden hour’s vibrant sky. Stay flexible and interact with your subject to capture authentic‚ emotive moments. This magical light is perfect for creating memorable and professional-looking portraits.
Landscape Photography Tips
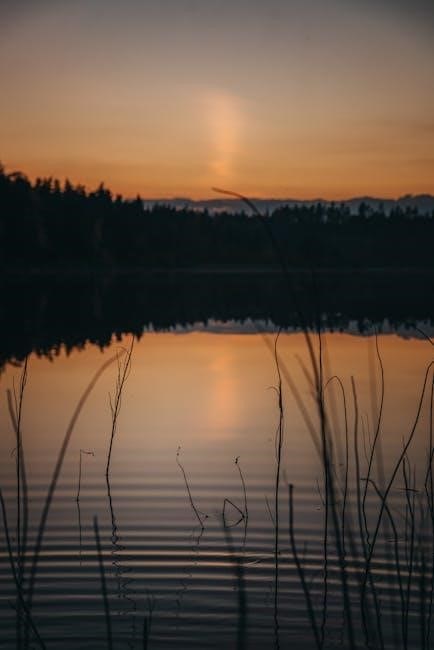
The golden hour is a magical time for capturing breathtaking landscapes. The soft‚ warm light enhances textures‚ creates long shadows‚ and bathes the scene in a golden hue. For optimal results‚ position yourself to face the sun‚ allowing the light to illuminate your subject from the front or side‚ adding depth and dimension to the scene.
Use a tripod to stabilize your camera‚ as the lower light may require slower shutter speeds. Shoot in RAW format to capture the full range of colors and details. Experiment with compositions that include interesting foreground elements‚ such as rocks‚ trees‚ or water‚ to add depth to your images. Avoid overexposing the sky by using graduated neutral density filters or bracketing your shots for later merging in post-processing.
Take advantage of the golden hour’s unique light to highlight reflections‚ silhouettes‚ or atmospheric effects like mist or fog. Stay patient and flexible‚ as the light changes rapidly during this time. Capture multiple frames to ensure you don’t miss the perfect moment. This fleeting window of light is ideal for creating dramatic‚ evocative landscape photography.

Best Practices for Capturing the Golden Hour

Plan ahead‚ scout locations‚ and arrive early to ensure optimal positioning. Use a tripod for stability and shoot in RAW for better detail. Be prepared to adapt as the light changes rapidly during this fleeting period.
Planning and Preparation
Successful golden hour photography begins with thorough planning and preparation. Research the location beforehand to identify prime spots that will benefit most from the golden light. Use apps or tools to calculate the exact timing of the golden hour based on your location and the time of year. Arrive early to set up your equipment and compose your shots. A tripod is essential for stability‚ especially in low-light conditions. Shoot in RAW format to capture maximum detail and allow for better post-processing. Familiarize yourself with your camera settings to quickly adapt as the light changes. Lastly‚ dress appropriately for the weather and be prepared to work swiftly‚ as the golden hour is fleeting. Proper planning ensures you make the most of this magical time and capture stunning images that reflect its beauty and essence.
Location Scouting
Location scouting is a critical step in maximizing the potential of the golden hour. Start by identifying locations with open spaces and interesting foregrounds or backgrounds‚ such as beaches‚ fields‚ or cityscapes‚ which can enhance your photos. Use apps or online tools to find spots that align with the sun’s direction during the golden hour. Visit potential locations beforehand to observe how the light interacts with the environment. Look for unique features like reflections‚ silhouettes‚ or textures that can add depth to your images. Consider the accessibility of the location and whether permits are required. By scouting ahead‚ you can plan your shots effectively and ensure that you are in the right place at the right time to capture the golden hour’s magic. Proper location scouting allows you to focus on creativity and technique during the shoot‚ making the most of this fleeting period of remarkable light.
Overcoming Challenges

Golden hour photography comes with its own set of challenges. One common issue is the short duration of the golden hour‚ which requires photographers to act quickly. To overcome this‚ prepare your equipment in advance and plan your shots meticulously. Another challenge is unpredictable weather conditions‚ such as overcast skies or sudden rain‚ which can diminish the quality of light. Always have a backup plan or alternative locations to adapt to changing conditions. Additionally‚ the low light during the golden hour can sometimes lead to underexposed images or unwanted shadows. To address this‚ use a tripod for stability and experiment with manual settings to ensure proper exposure. Lastly‚ avoid over-editing during post-processing‚ as this can diminish the natural beauty of the golden hour hues. By anticipating and preparing for these challenges‚ you can make the most of this magical time and capture stunning images that reflect the unique atmosphere of the golden hour.
Post-Processing and Editing
Post-processing is crucial to enhance golden hour images. Use software like Adobe Lightroom or Photoshop to adjust white balance‚ exposure‚ and colors. Presets can help maintain the warm‚ natural tones captured during the golden hour‚ ensuring your photos look stunning and professional.
Software and Tools
When it comes to post-processing golden hour photos‚ the right software and tools can elevate your images to the next level. Adobe Lightroom and Photoshop are industry standards‚ offering powerful features like color grading‚ noise reduction‚ and exposure adjustments. These tools allow precise control over the warm tones and soft light captured during the golden hour.
Skylum Luminar is another excellent option‚ known for its intuitive interface and filters designed to enhance natural light. Capture One is favored by professionals for its tethering capabilities and RAW image processing. For those on a budget‚ free alternatives like GIMP and Canva provide essential editing features.
Mobile apps like VSCO and Snapseed are great for quick edits on the go‚ offering presets that mimic the golden hour aesthetic. Additionally‚ dedicated RAW image editors and AI-powered tools can help refine details and enhance colors. Whether you’re a professional or a hobbyist‚ the right software ensures your golden hour shots look their best.
Enhancing Golden Hour Colors
The golden hour is renowned for its soft‚ warm tones‚ but post-processing can further enhance these colors to create stunning images. Adjusting the white balance and color temperature helps maintain the natural golden hues while adding depth. Using tools like color grading in Adobe Lightroom or Photoshop allows photographers to emphasize warm tones and subtle contrasts.
Applying filters or LUTs (Lookup Tables) designed for golden hour photography can instantly elevate the aesthetic of your photos. These presets often enhance yellows‚ oranges‚ and reds while softening harsh shadows. For a more natural look‚ subtle adjustments to vibrance and saturation can make the colors pop without overprocessing.
Selective color enhancements‚ such as boosting warm tones in the sky or foreground‚ can draw attention to specific elements. Meanwhile‚ global adjustments like contrast and exposure refinement ensure the image remains balanced. These techniques help photographers preserve and enhance the magical ambiance of the golden hour in their final edits.
Printing Tips
Printing golden hour photographs requires careful attention to detail to preserve the soft‚ warm tones captured during this magical time. Choosing the right paper is essential—matte or luster finishes are ideal for golden hour images‚ as they minimize glare and enhance the natural warmth of the scene. Use high-quality inkjet printers designed for photo printing to ensure vibrant colors and precise details.
Calibrate your monitor and printer to match the colors in your edited photos. This ensures that the golden hues and subtle contrasts are accurately reproduced. Consider using custom ICC profiles for your paper and printer combination to achieve the best results. Adjust the image resolution and size in your printing software to match the physical dimensions of the print‚ avoiding pixelation.
For enhanced durability‚ opt for archival-quality paper and ink to prevent fading over time. Experiment with different printing techniques‚ such as split-toning or adding a slight warm tint‚ to further emphasize the golden hour aesthetic. Finally‚ allow the print to dry completely before handling or framing to preserve its quality.
Resources for Golden Hour Photography
Discover valuable resources like eBooks‚ PDF guides‚ and online tutorials to master golden hour photography. Explore mobile apps for timing and planning‚ and join photography communities to share tips and inspire your creativity.

Recommended eBooks and PDFs
Enhance your golden hour photography skills with these highly recommended eBooks and PDF guides. Titles like “Mastering the Golden Hour” and “Golden Light Techniques” offer in-depth insights into capturing stunning images during this magical time. These resources provide practical tips‚ real-world examples‚ and expert advice on lighting‚ composition‚ and gear. Many guides are tailored for both beginners and advanced photographers‚ ensuring there’s something for everyone. Additionally‚ “The Golden Hour Handbook” and “Smartphone Golden Hour Photography” are excellent for those looking to improve their mobile photography skills. These eBooks and PDFs are packed with actionable strategies to help you make the most of the golden hour‚ whether you’re shooting portraits‚ landscapes‚ or cityscapes. They often include timelines‚ location tips‚ and post-processing techniques to elevate your work. Download these resources to unlock the full potential of golden hour photography and take your creative vision to the next level.
Online Tutorials and Guides
Discover the best online tutorials and guides to master golden hour photography. Platforms like YouTube and Adobe offer extensive resources‚ including step-by-step tutorials and expert tips. Many guides focus on timing‚ lighting‚ and composition‚ helping photographers of all levels. For instance‚ Adobe provides tutorials on how to enhance golden hour colors in post-processing‚ while YouTube channels share real-world examples and location scouting tips. These online resources often include interactive tools‚ such as golden hour calculators‚ to help plan shoots effectively. Additionally‚ websites like PhotoPills and Snapseed offer detailed guides on capturing stunning golden hour shots using smartphones. These tutorials are perfect for learning how to use the soft‚ warm light to create breathtaking portraits and landscapes. Whether you’re a beginner or an advanced photographer‚ these online guides will help you unlock the full potential of golden hour photography and take your skills to the next level.
Mobile Apps for Planning
Mobile apps are invaluable tools for planning golden hour photography. Apps like PhotoPills and Golden Hour Calculator provide precise timings for sunrise and sunset‚ helping photographers plan their shoots accurately. These apps often include features like augmented reality views‚ which allow users to preview the sun’s position and lighting conditions before heading out. Additionally‚ apps such as Sunset Time and The Photographer’s Ephemeris offer detailed location-based data‚ enabling photographers to scout the best spots for capturing golden hour light. Many of these apps also include weather forecasts‚ ensuring photographers can anticipate optimal conditions. By leveraging these tools‚ photographers can maximize their time during the golden hour‚ ensuring they are in the right place at the right moment to capture stunning images. These apps are essential for both amateur and professional photographers looking to make the most of this magical time of day.